[Django Admin] 2. 모델, 렌더링
Tutorial Chapter 2, 3을 다룬다.
모델 및 어드민 도입
djangotutorial/
    manage.py
    djangotutorial/
        __init__.py
        settings.py
        urls.py
        asgi.py
        wsgi.py
settings.py: DB 연결, 디렉토리, 앱, 미들웨어 등
- Databases: 엔진과 그에 따른 옵션 설정 가능. 필요한 설정은 엔진마다 다르며, ‘read_default_file’에 cnf 파일 경로를 지정하여 password, user, host 등의 정보 저장 가능.
# settings.py
DATABASES = {
    'default': {
        'ENGINE': 'django.db.backends.mysql',
        'OPTIONS': {
            'read_default_file': '/path/to/my.cnf',
        },
    }
}

# my.cnf
[client]
database = NAME
user = USER
password = PASSWORD
default-character-set = utf8
manage.py migrate 를 통해, settings.py 내 INSTALLED_APPS에 필요한 DB를 미리 만들 수 있다.
models.py: 데이터베이스 레이아웃 정의. 이것만 보고 데이터가 다 보여야 한다.
기본적으로 orm. models.Model을 상속받는 클래스로 table을 정의한다.
#polls/models.py
from django.db import models

class Question(models.Model):
    question_text = models.CharField(max_length=200)
    pub_date = models.DateTimeField('date published')

class Choice(models.Model):
    question = models.ForeignKey(Question, on_delete=models.CASCADE)
    choice_text = models.CharField(max_length=200)
    votes = models.IntegerField(default=0)
CharField, DateTimeField와 같이 들어갈 필드의 형태를 지정 가능함.
첫 번째 argument로 들어가는 String은 주석과 같은 역할.
ForeignKey 연결도 가능하며, 1-n, n-n 다 가능하고 삭제 시 지정도 가능.
앱 활성화
장고 기본 철학은 ‘앱을 모듈처럼 다루자’. 한 곳에서 사용한 앱을 다른 프로젝트에 못쓸 이유가 없음.
아무튼 모듈을 활성화시켜야 사용 가능. root/settings.py 내 installed_apps 세팅에 ‘Configuration Class’를 연결해줘야 한다. 이건 각 앱의 apps.py에 있다.
#djangotutorial/settings.py
INSTALLED_APPS = [
    'polls.apps.PollsConfig',
    'django.contrib.admin',
    'django.contrib.auth',
    'django.contrib.contenttypes',
    'django.contrib.sessions',
    'django.contrib.messages',
    'django.contrib.staticfiles',
]
#djangotutorial/polls/apps.py
from django.apps import AppConfig
class PollsConfig(AppConfig):
default_auto_field = 'django.db.models.BigAutoField'
name = 'polls'
그 뒤 polls 앱의 모델을 반영하기 위해 makemigrations polls를 실행한다. 이러면 변화점이 polls/migrations 폴더 내에 저장된다. 버전컨트롤이라기에는 전체 요소가 아닌 변화가 발생할 때마다 그 변화를 하나하나 기록하는 것이기 때문에, 이전 버전을 수정 시 이후 버전도 영향을 받으므로 신중히 다뤄야 한다.
cf. sqlmigrate 명령어를 통해 이 과정으로 sql로도 볼 수 있다.
요약: models.py 수정 —> manage.py makemigrations를 통해 각 app 내의 변경점을 migration으로 변경 —> manage.py migrate를 통해 각 app의 migration을 전부 통합하여 db에 반영
쿼리 치기
- 여느 ORM과 같이, ClassName.methodName 등을 통해 쿼리를 치거나, q = ClassName(kwargs) / q.save() 등을 통해 개별 row를 저장할 수 있다.
- Question.objects.all()을 쳐보면 representation이 단순히 object 설명과 동일하다. 이후 쿼리 진행 등에서도 전혀 도움이 되지 않으므로, 모든 model에는 반드시 str 를 붙여야 한다.
- DateTimeField 등에 대해, django.utils.timezone 혹은 datetime.timedelta 등을 활용할 수 있다.
- 엄연히 클래스이므로 커스텀 메서드 등을 붙일 수 있음. 이를 통해 각 row(= class instance)별로 메서드 실행을 통한 로직 구현이 가능하다.
- FK로 연결된 다른 entity에 대해, 직접 추가하여 db에 더할 수도 있다. q.choice_set.create(…)인데, choice_set은 이름이 자동으로 붙었다는 점을 확인.
어드민 기능
어드민은 superuser를 생성하면 이를 통해 접속이 가능하다. createsuperuser를 통해 만들 수 있다.
python manage.py createsuperuser
그 뒤 서버를 열고 localhost:8000/admin 에 접속하여 로그인하면 어드민 페이지에 접속할 수 있다.
어드민에서 수정 가능하게 하기
polls/admin.py 내에 모델을 등록해야 한다. Low-code같은 감성이다. 모델을 등록하면 알아서 읽기 쉬운 형태로 바꿔준다.
#polls/admin.py
from django.contrib import admin
from .models import Question

admin.site.register(Question)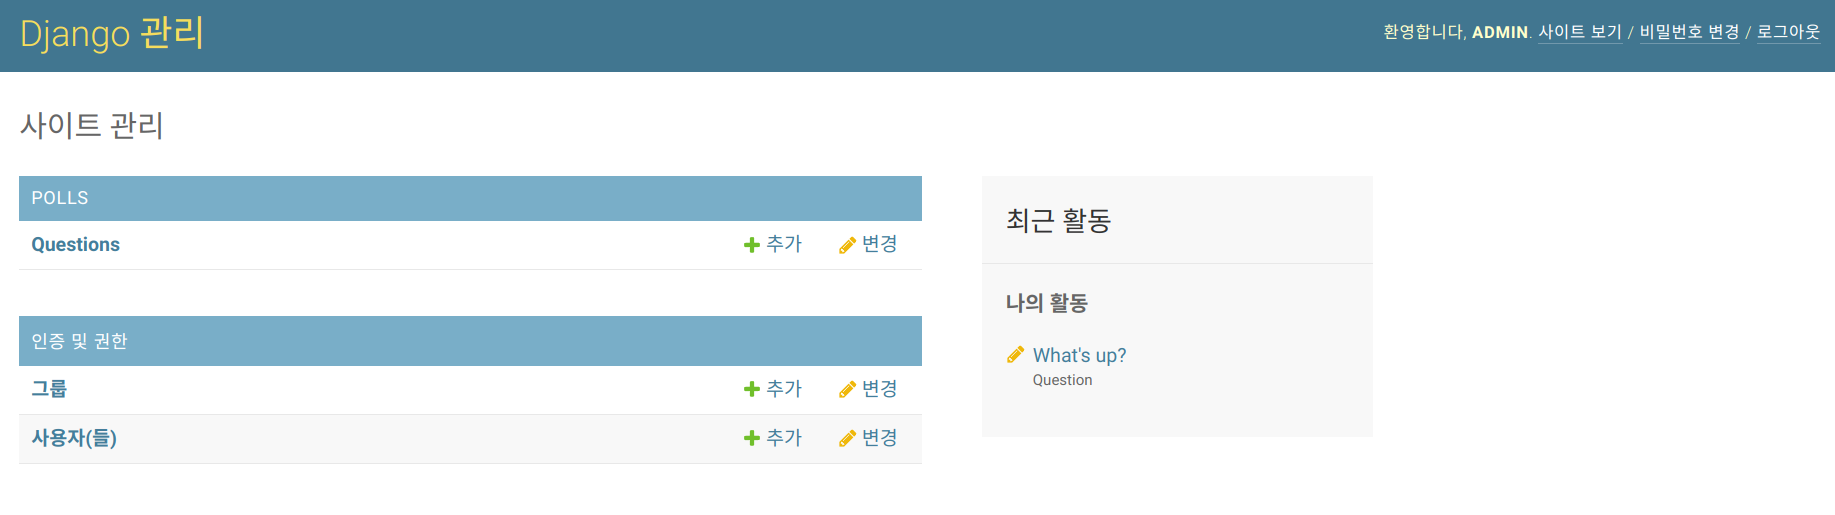
렌더링 및 템플릿
URL 내에서 파라미터를 가져올 수 있다. Spring @PathVariable 과 동일한 기능.
#polls/views.py

...
def detail(request, question_id):
    return HttpResponse("You're looking at question %s." % question_id)

def results(request, question_id):
    response = "You're looking at the results of question %s."
    return HttpResponse(response % question_id)

def vote(request, question_id):
    return HttpResponse("You're voting on question %s." % question_id)
기존의 views 내에 새로운 뷰들을 넣었다. 이제 이 뷰들은 파라미터를 받는다. 이 파라미터를 URL 패턴 내에서 받을 수 있다. 거의 서비스 패턴이다.
Django는 view에게 반드시 HttpResponse, 혹은 에러 response code를 받기를 원한다.
#polls/urls.py
urlpatterns = [
    # /polls/
    path('', views.index, name='index'),

    # /polls/5
    path('<int:question_id>/', views.detail, name='detail'),

    # /polls/5/results
    path('<int:question_id>/results/', views.results, name='results'),

    # /polls/5/vote
    path('<int:question_id>/vote/', views.vote, name='vote'),
]
int:question_id 는 int converter / variable name question_id 를 < >를 통해 매칭한다.
이제 본격적으로 view template과 매칭을 해준다. template 파일 경로 등은 프로젝트 setting의 TEMPLATES 옵션으로 조정 가능하다. 기본적으로 루트 폴더의 templates 폴더와 각 앱 내의 templates 폴더를 찾는다.
참고.
이때 주의 사항으로, 각 app 내의 root template 폴더 내에 직접 html을 넣지 마라. Django는 모든 templates 폴더를 뒤지게 될텐데, 예를 들어 polls/templates/index.html 과 루트 폴더의 templates/index.html은 절대 구분할 수 없다(둘 다 templates 대비 상대 경로가 같다). app 내에 있는 templates 폴더라도, 별도의 폴더(app 이름과 동일하면 편할 것이다)를 파서 그 안에 html을 넣는 것이 경로 지정을 하기 쉽다.
<!-- polls/templates/polls/index.html -->

<!DOCTYPE html>
<html lang="en">
<head>
    <meta charset="UTF-8">
    <title>Index of Polls</title>
</head>
<body>
{% if latest_question_list %}
    <ul>
        {% for question in latest_question_list %}
            <li><a href="/polls/{{ question.id }}/">{{ question.question_text }}</a></li>
        {% endfor %}
    </ul>
{% else %}
    <p>No polls are available.</p>
{% endif %}
</body>
</html>
이제 이 index.html에 스프링으로 치면 ‘모델’을 넘겨줄 때이다.
# polls/views.py

def index(request):
    latest_question_list = Question.objects.order_by('-pub_date')[:5]
    template = loader.get_template('polls/index.html')
    context = {
        'latest_question_list': latest_question_list,
    }
    return HttpResponse(template.render(context, request))
앞서 말했듯 장고는 views에게 HttpResponse를 원한다. render 메서드는 template가 담당하고 이를 HttpResponse에 넣는다. context(모델)는 render 시에 전한다.
그런데 이 패턴은 정말 많이 쓰므로 shortcut이 있다.
...
		return render(request, 'polls/index.html', context)
Error Raise
404를 반환해본다.
question_id에 해당하는 question이 없을 경우, 모델은 ObjectDoesNotExist 예외를 발생시킨다. Question은 이 예외를 받아서 DoesNotExist flag를 켠다. 이를 받아서 Http404로 변환해야 한다.
def detail(request, question_id):
    try:
        question = Question.objects.get(pk=question_id)
    except Question.DoesNotExist:
        raise Http404("Question of given id does not exist")
    return render(request, 'polls/detail.html', {'question': question})
해당하는 entity가 없는 경우 404를 발생시키는 패턴은 매우 흔하다.
def detail(request, question_id):
    question = get_object_or_404(Question, pk=question_id)
    return render(request, 'polls/detail.html', {'question': question})
get_object_or_404 혹은 get_list_or_404 의 경우 object/list를 반환한다는 차이만 있다.
이제 detail로 넘긴 question을 좀 더 상세히 다룬다.
<!-- /polls/templates/polls/detail.html -->

<!DOCTYPE html>
<html lang="en">
<head>
    <meta charset="UTF-8">
    <title>Question Detail: {{ question.id }}</title>
</head>
<body>
<h1>{{ question.question_text }}</h1>
<ul>
    {% for choice in question.choice_set.all %}
        <li>{{ choice.choice_text }}</li>
    {% endfor %}
</ul>
</body>
</html>
여러 template 관련 기능이 쓰였다.
- {{ 변수명 }}(띄어쓰기 포함)을 통해 원하는 변수를 렌더링할 수 있다.
- {% for … %} / {% endfor %}를 통해 반복문을 쓸 수 있다.
다만 .all의 경우 분명 메서드인데 메서드 콜링이 변수 호출처럼 되어 있다. 이런 식으로 template은 좀 헷갈리는 부분이 있어서, template 가이드 참고가 그때그때 필요해보인다.
- {% url %} 태그를 통해 urls.py 내에 정의한 ‘이름’ 값을 그대로 가져오고, 이를 붙일 수 있다.
<li><a href="{% url 'detail' question.id %}">{{ question.question_text }}</a></li>
path('<int:question_id>/', views.detail, name='detail'),
name 파라미터를 기억해보자. 이러면 URL에 대한 책임은 온전히 urls.py에 있게 되며, URL을 수정하더라도 즉시 반영되어 유연한 유지보수가 가능해진다.
detail이라는 이름이 app마다 있는게 부담스럽다면 app name을 붙일 수도 있다.
# polls/urls.py
app_name = 'polls'
<li><a href="{% url 'polls:detail' question.id %}">{{ question.question_text }}</a></li>